Updating a plugin
You will receive a notification on your WordPress admin when an update is available for any of your plugins, be it free or Premium. You can then update to the latest version directly from your WordPress admin panel.
Important
A valid license is required for premium plugins/add-ons to receive updates.
If for some reason you cannot perform automatic updates through your WordPress Admin panel, you can manually update the plugin to the latest stable version.
Before you start, download the latest version of the free plugin from WordPress.org or the premium plugin/add-on from your user dashboard.
Updating from the WordPress dashboard
Updating via the WordPress Admin panel is a straightforward process.
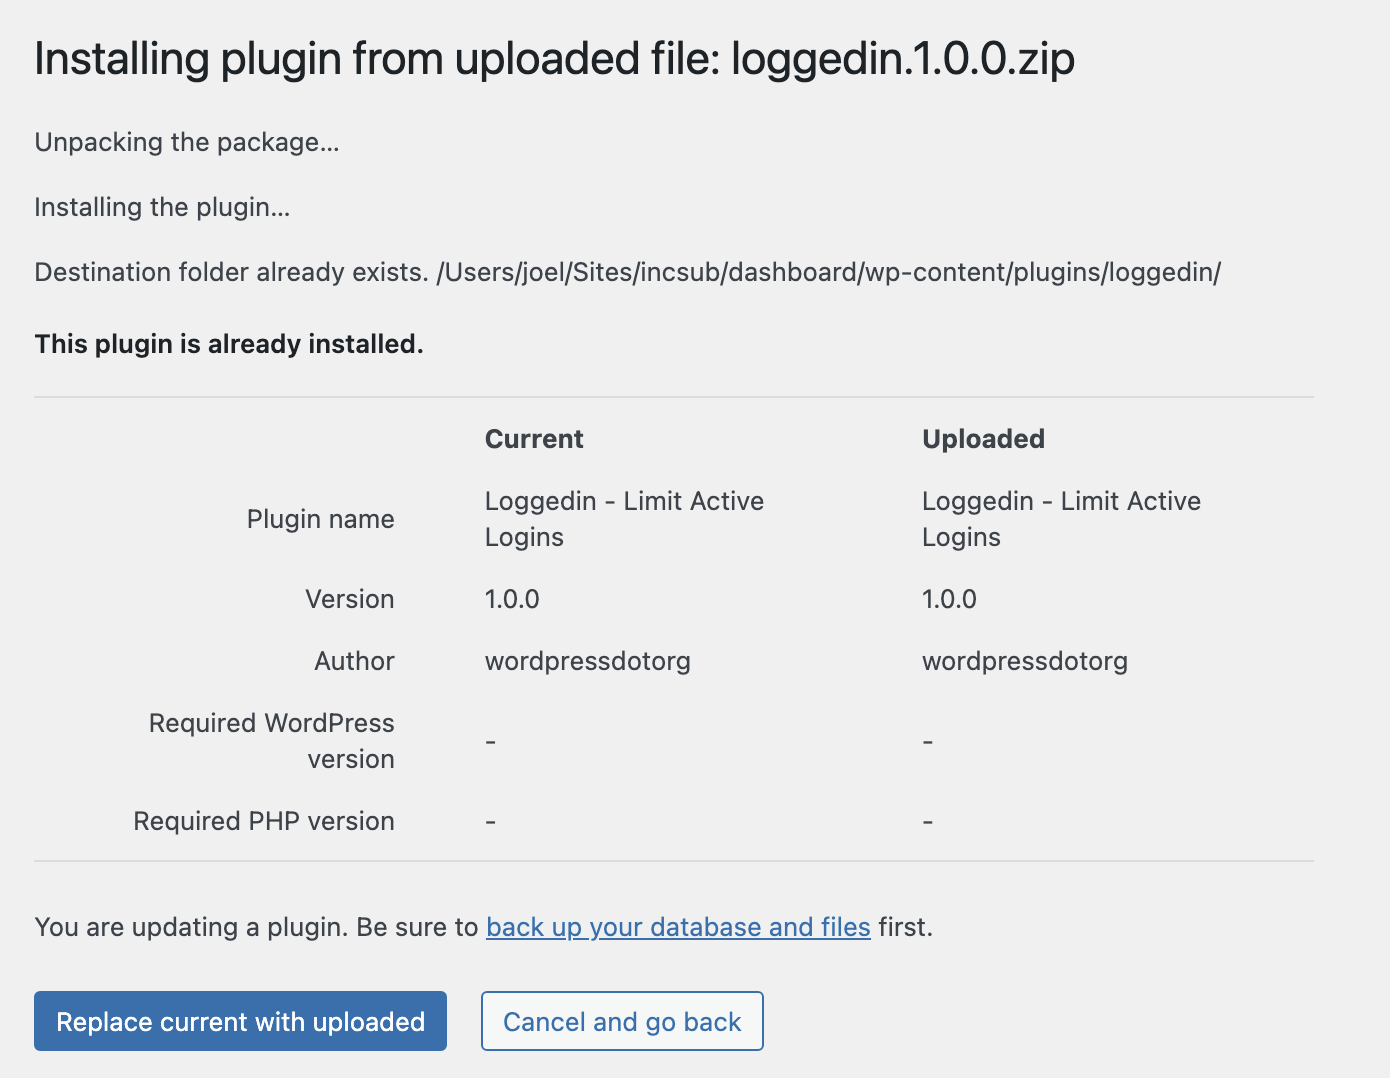
- Navigate to WP Admin > Plugins > Add New > Upload.
- Browse to the location of the plugin ZIP file on your computer and press “Upload”.
- Select “Replace current with uploaded” on the confirmation page.
Updating a plugin via FTP
Follow these steps to install a plugin via FTP.
To install it via FTP, you will need direct access to your web host's file server. Make sure you have a file transfer program (for example, Filezilla) and the necessary permissions from your hosting provider.
- Unzip the downloaded ZIP file somewhere on your computer.
- Connect to your web server over FTP and navigate to
/wp-content/plugins/your-plugin-name/. - Replace all the files in this directory with the files from the downloaded ZIP file.
Following either of these two update methods ensures you will not lose your plugin's configuration settings. These methods are applicable to all plugins.
Note
your-plugin-name is a sample name. Don't forget to use your plugin's actual name instead.